Welcome to our new Skyland! Article rewrites are welcome. If you see any missing images, please feel free to add them. Please use the Aboutfile template when uploading and add categories.
We are also aware of some articles being unavailable. Please bear with us while we are working to get them fixed.
Torch/Gallery: Difference between revisions
From Skylanders Wiki
< Torch
No edit summary |
No edit summary |
||
| Line 2: | Line 2: | ||
== Gallery == | == Gallery == | ||
===Media=== | |||
<gallery position="center"> | |||
Torch model.jpg|Torch's model from the "Traping Kaos" commercial | |||
</gallery> | |||
=== Series 1 === | === Series 1 === | ||
<gallery position="center"> | <gallery position="center"> | ||
Villains_0002_TORCH_skylanders.png|Torch Transparent Tender | |||
Torch Toy.png | Torch Toy.png | ||
Torch Promo.jpg | Torch Promo.jpg | ||
apimdwqau__17376.1461322462.jpg|Torch in her boxing | apimdwqau__17376.1461322462.jpg|Torch in her boxing | ||
cartes-skylanders-trap-team-torch.jpg|Torch's card | cartes-skylanders-trap-team-torch.jpg|Torch's card | ||
Torch Gameplay3.jpg|Torch in game | |||
Torch Gameplay2.jpg | |||
Torch Gameplay1.jpg|Torch letting loose a stream of fire on a group of [[Chompies]] | |||
Torch upgrade.png|Torch's double flamethrower from her "Forged in flames" path | |||
</gallery> | </gallery> | ||
==IDW Comics== | ==IDW Comics== | ||
===[[Champions]]=== | ===''[[Champions]]''=== | ||
<gallery position="center"> | <gallery position="center"> | ||
Skylanders_Comic4_Normal.jpg | Skylanders_Comic4_Normal.jpg | ||
Revision as of 11:18, July 4, 2020
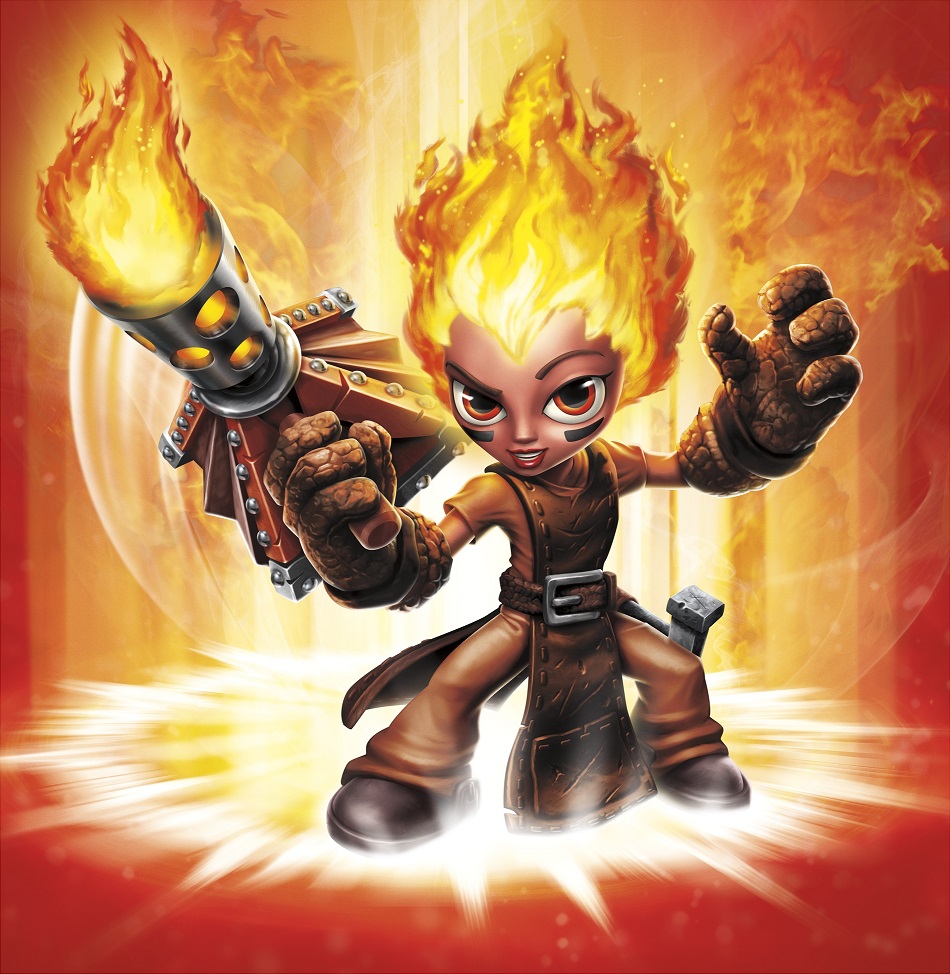
Image gallery of Torch in the main Skylanders series.
Gallery
Media
-
 Torch's model from the "Traping Kaos" commercial

Series 1
-
 Torch Transparent Tender
 -

-
-
 Torch in her boxing
 -
 Torch's card
 -
 Torch in game
 -

-
 Torch letting loose a stream of fire on a group of Chompies
 -
 Torch's double flamethrower from her "Forged in flames" path


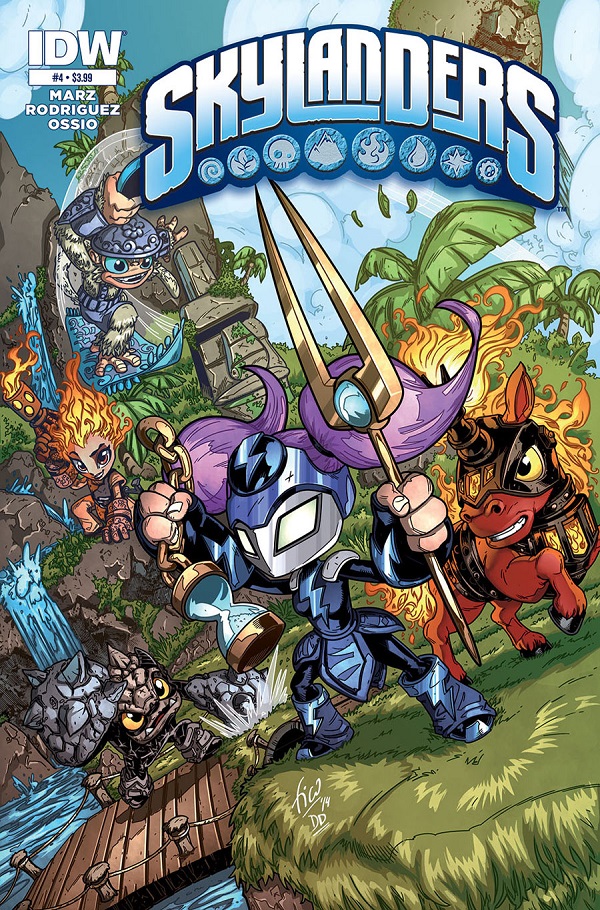
IDW Comics
Champions
-
-
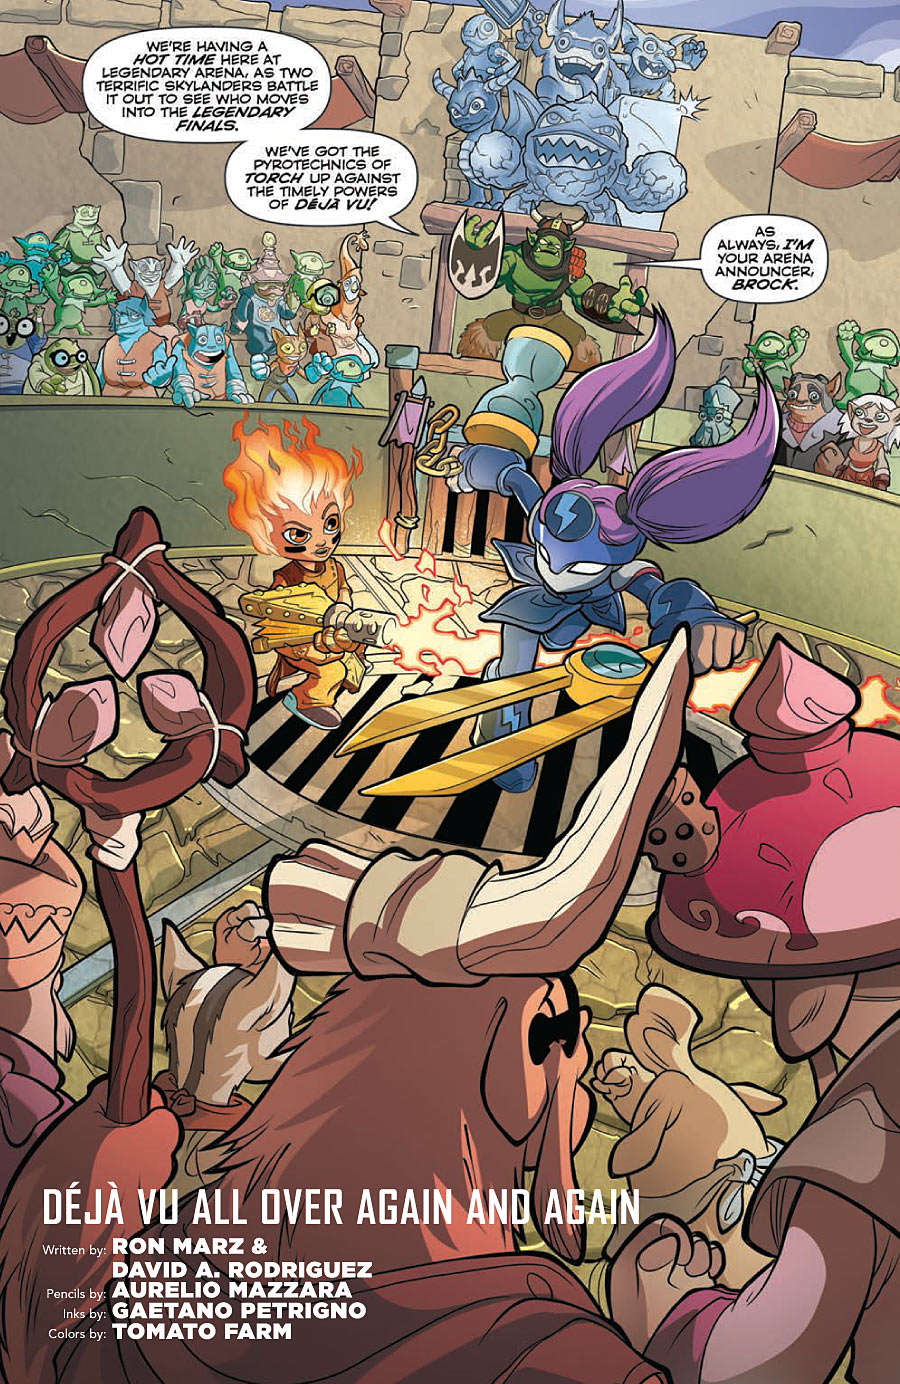 Skylanders Issue 4 Page Preview #1
 -
 Skylanders Issue 4 Page Preview #2
 -
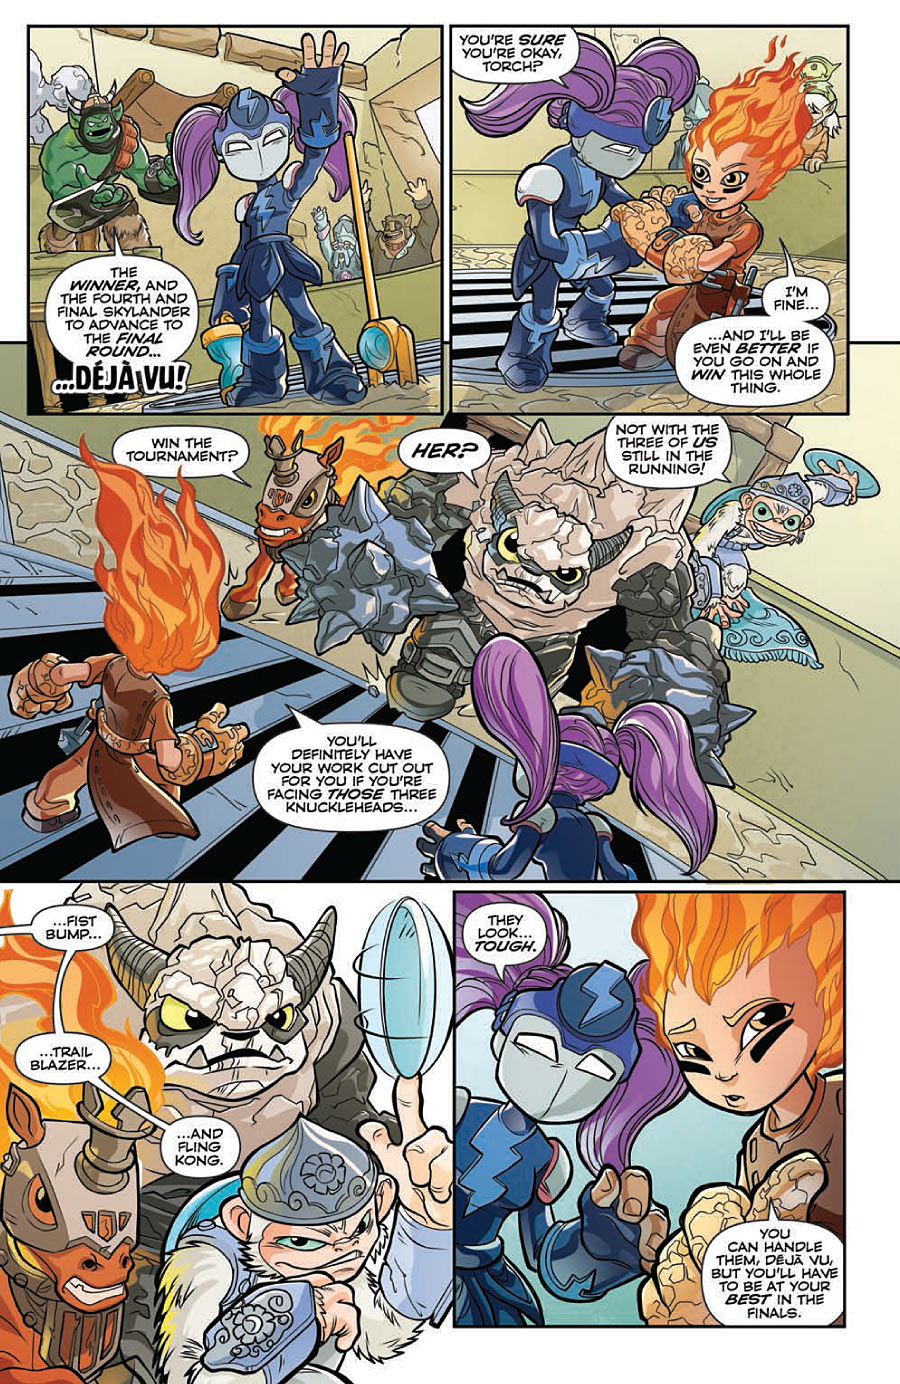 Skylanders Issue 4 Page Preview #3


